The key new feature in macOS Sonoma is the ability to add widgets to the Desktop. They’re no longer banished to the notification shade that slides opens when you click on the time in the menu bar. In Sonoma, widgets can exist anywhere on the Desktop so you can see them all the time. This new widget implementation gives you instant access to the information you need. Let’s look at how to add widgets to your Desktop.
Check out our macOS Sonoma guide for more information about the latest version of the Mac operating system.
- Time to complete: 5 minutes
- Materials required: macOS Sonoma
- Cost: Free
Edit Widgets
Foundry
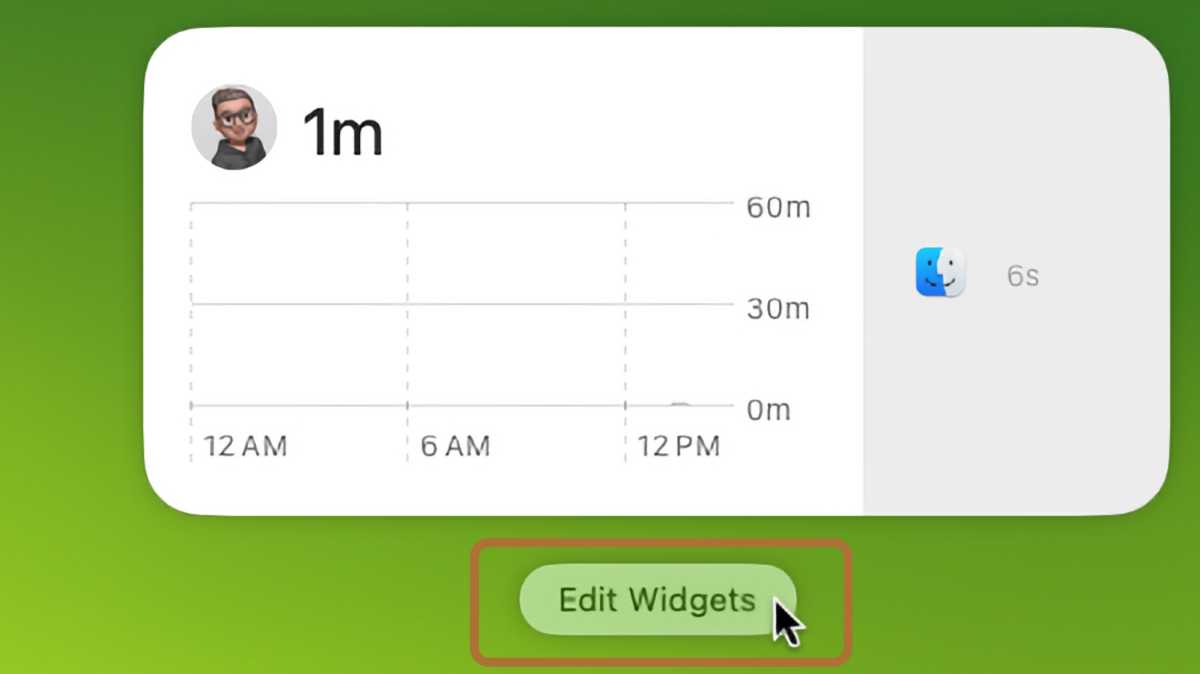
When you first install macOS Sonoma, you can find your widgets like before by clicking the date and time in the menu bar. In the sidebar that appears, you’ll find a tab for the new Desktop widgets. You can click it to get started, but if you don’t see that section, just click Edit Widgets at the bottom of the column.
You can also Control-click (or two-finger tap on a trackpad) on the Finder and select Edit Widgets in the pop-up menu.
Pick your widgets
Foundry
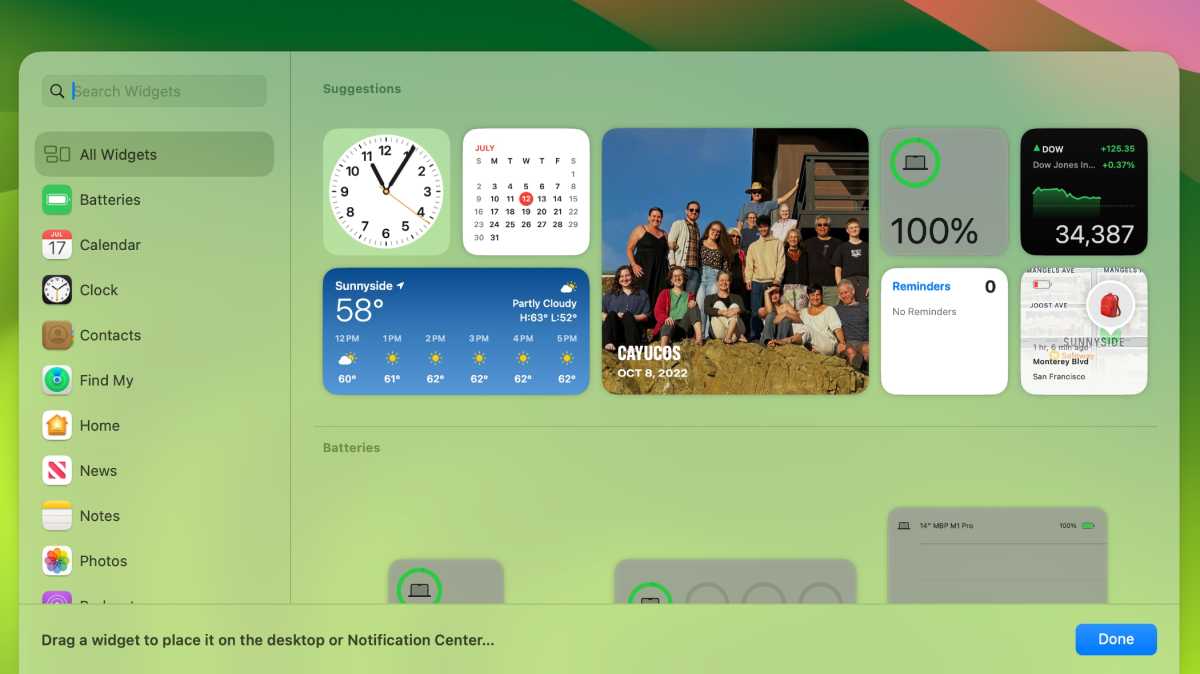
The widget browser will appear from the bottom of the screen. Peruse the browser until you find the widget you want. You’ll find that widgets are available in different sizes and styles. For example, the Clock widget has options for displaying the time in a different city, or options for a World Clock.
Place a widget
Foundry
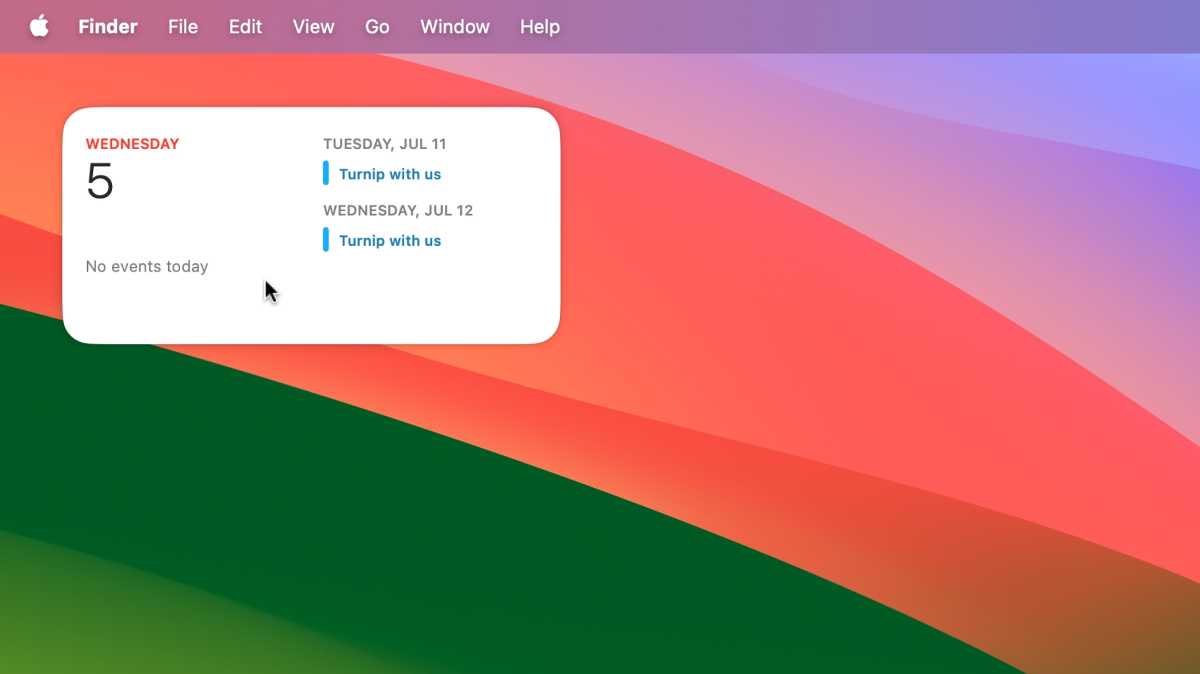
To place a widget, you can click and then drag the widget wherever you want on the Desktop. Or you can click it and it automatically appears in the upper left of the Desktop; you can then click and drag to move it.
Customize your widgets
Foundry
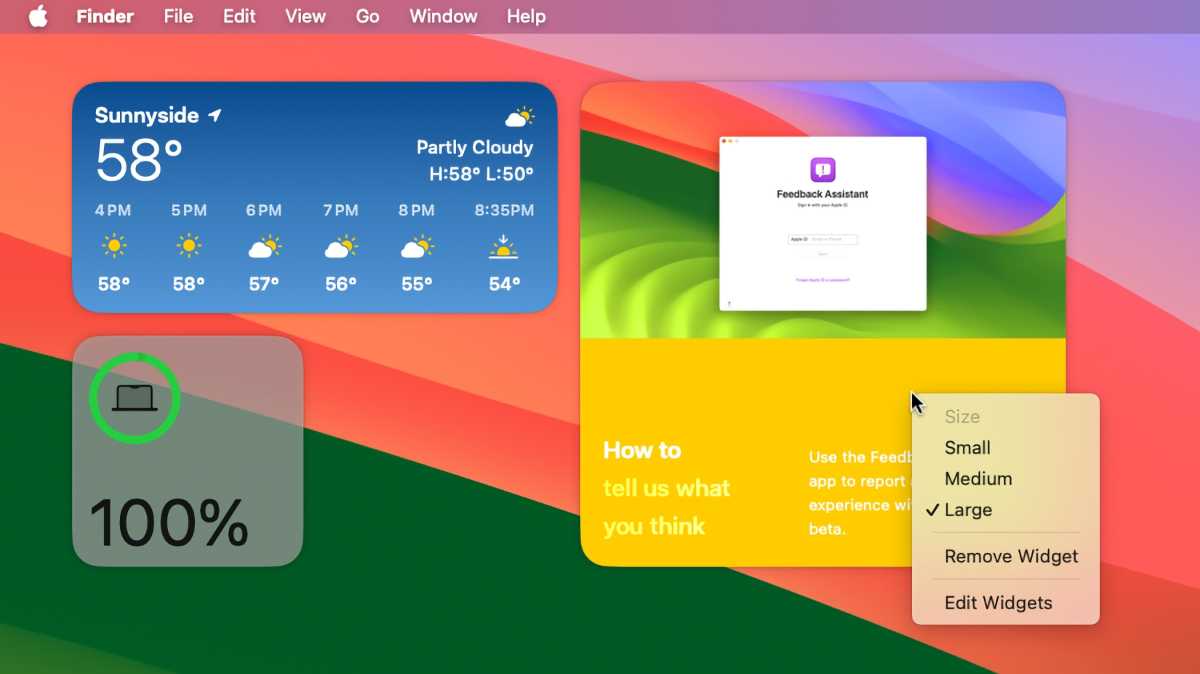
After you’ve placed a widget, it can be adjusted at any time.
- You can move it by clicking and dragging.
- Control-click on a widget to see a pop-up menu that lets you adjust its size or remove the widget.
- Some widgets allow you to click on them to open the full app or to access an expanded interface. Some widgets, such as the Podcast widget, have a limited set of controls within the widget that you can use so the full app doesn’t have to be opened.
If you drag a file, folder, or other item to the Desktop and on top of a widget, macOS places the item in the closest available Desktop space. It does not launch the file in the widget’s app.
Widget settings in Desktop & Dock
Foundry
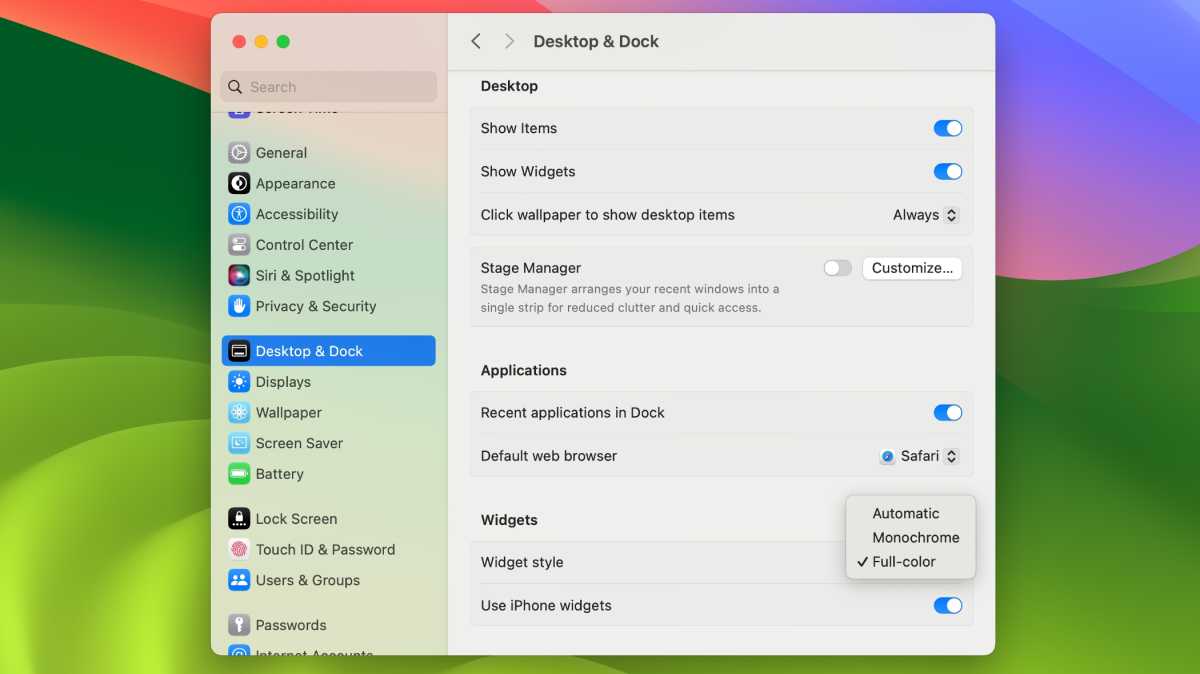
The Desktop & Dock system setting has a few helpful options.
Show widgets: Don’t want widgets at all on the Desktop? The Desktop section of this setting has a place where you can turn them off with the flip of a switch.
Widget style: In the Widgets section of this setting, you have options for the color appearance of widgets:
- Automatic: Adjusts the appearance between Full-color and Monochrome. When you’re in the Finder, widgets appear as Full-color. Widgets will dim to Monochrome whenever you are in an app and you can see the Finder in the background.
- Monochrome: Displays the widget as it looks when it’s dimmed all the time, even while in the Finder.
- Full-color: Displays the full set of colors all the time, even when widgets are in the background.
Use iPhone widgets: This provides the option to allow or not allow iPhone widgets. The iPhone needs to be on the same Wi-Fi network or nearby for widgets to update.
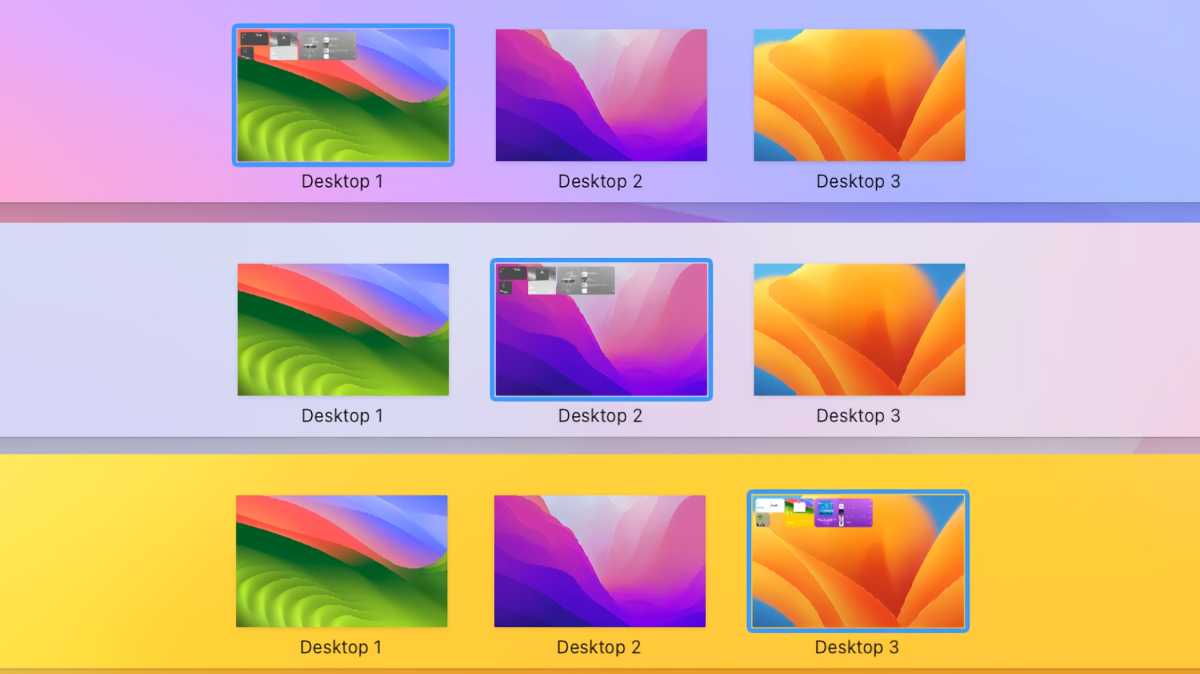
On every Desktop
Foundry
If you like to use multiple Desktops, know that widgets will appear on all Desktops. For example, if you create a second Desktop in Mission Control, when you switch back and forth between the two, your widgets follow you.
During the Sonoma beta period, Apple does not provide a way to assign widgets to specific Desktops. Whether Apple will provide this feature is unknown.


